The Christmas Light-up
Menggunakan Kode warna dalam blogging
Ingin mengganti warna blog dengan warna yang kita inginkan, tentunya tidak sulit tinggal kita memasukkan kode warna yang kita inginkan.
Unsur warna bukan hanya dilakukan pada background blog tetapi lebih banyak lagi fungsi serta manfaat lain yang bisa kamu eksplorasi, seperti : pewarnaan teks, background, pewarnaan link, highlight, dan sebagainya
Tapi karena saking banyaknya kode yang ada tentu kita kesulitan untuk menghafalkan ( kalau bisa berarti kamu "JENIUS"...), namun bagaimana kalau menggunakan alat bantu. Cara kerjanya kamu tinggal meng-klik warna, kemudian kode-nya akan muncul. Dan langkah selanjutnya tinggal copas kode tersebut dalam kode HTML blog kamu
Dengan HTML color codes kamu bisa merubah background, warna text, dll
berikut contoh penggunaan
HTML color codes untuk background color :
| <body style="background:#80BFFF"> |
HTML color codes utuk setting font/text color :
| <span > |
HTML color codes untuk table background color:
| <table style="background:#80BFFF"> |
HTML color code untuk link color :
| <a style="color:#80BFFF"> |
Kamu bisa mendapatkan kode warna di sini :
Red color names ( tambahkan kode # didepan untuk kode warna)
Red color names
| IndianRed | CD5C5C | ||
| LightCoral | F08080 | ||
| Salmon | FA8072 | ||
| DarkSalmon | E9967A | ||
| LightSalmon | FFA07A | ||
| Crimson | DC143C | ||
| Red | FF0000 | ||
| FireBrick | B22222 | ||
| DarkRed | 8B0000 |
Pink color names
| Pink | FFC0CB | ||
| LightPink | FFB6C1 | ||
| HotPink | FF69B4 | ||
| DeepPink | FF1493 | ||
| MediumVioletRed | C71585 | ||
| PaleVioletRed | DB7093 |
Orange color names
| LightSalmon | FFA07A | ||
| Coral | FF7F50 | ||
| Tomato | FF6347 | ||
| OrangeRed | FF4500 | ||
| DarkOrange | FF8C00 | ||
| Orange | FFA500 |
Yellow color names
| Gold | FFD700 | ||
| Yellow | FFFF00 | ||
| LightYellow | FFFFE0 | ||
| LemonChiffon | FFFACD | ||
| LightGoldenrodYellow | FAFAD2 | ||
| PapayaWhip | FFEFD5 | ||
| Moccasin | FFE4B5 | ||
| PeachPuff | FFDAB9 | ||
| PaleGoldenrod | EEE8AA | ||
| Khaki | F0E68C | ||
| DarkKhaki | BDB76B |
Purple color names
| Lavender | E6E6FA | ||
| Thistle | D8BFD8 | ||
| Plum | DDA0DD | ||
| Violet | EE82EE | ||
| Orchid | DA70D6 | ||
| Fuchsia | FF00FF | ||
| Magenta | FF00FF | ||
| MediumOrchid | BA55D3 | ||
| MediumPurple | 9370DB | ||
| Amethyst | 9966CC | ||
| BlueViolet | 8A2BE2 | ||
| DarkViolet | 9400D3 | ||
| DarkOrchid | 9932CC | ||
| DarkMagenta | 8B008B | ||
| Purple | 800080 | ||
| Indigo | 4B0082 | ||
| SlateBlue | 6A5ACD | ||
| DarkSlateBlue | 483D8B | ||
| MediumSlateBlue | 7B68EE |
Green color names
| GreenYellow | ADFF2F | ||
| Chartreuse | 7FFF00 | ||
| LawnGreen | 7CFC00 | ||
| Lime | 00FF00 | ||
| LimeGreen | 32CD32 | ||
| PaleGreen | 98FB98 | ||
| LightGreen | 90EE90 | ||
| MediumSpringGreen | 00FA9A | ||
| SpringGreen | 00FF7F | ||
| MediumSeaGreen | 3CB371 | ||
| SeaGreen | 2E8B57 | ||
| ForestGreen | 228B22 | ||
| Green | 008000 | ||
| DarkGreen | 006400 | ||
| YellowGreen | 9ACD32 | ||
| OliveDrab | 6B8E23 | ||
| Olive | 808000 | ||
| DarkOliveGreen | 556B2F | ||
| MediumAquamarine | 66CDAA | ||
| DarkSeaGreen | 8FBC8F | ||
| LightSeaGreen | 20B2AA | ||
| DarkCyan | 008B8B | ||
| Teal | 008080 |
Blue color names
| Aqua | 00FFFF | ||
| Cyan | 00FFFF | ||
| LightCyan | E0FFFF | ||
| PaleTurquoise | AFEEEE | ||
| Aquamarine | 7FFFD4 | ||
| Turquoise | 40E0D0 | ||
| MediumTurquoise | 48D1CC | ||
| DarkTurquoise | 00CED1 | ||
| CadetBlue | 5F9EA0 | ||
| SteelBlue | 4682B4 | ||
| LightSteelBlue | B0C4DE | ||
| PowderBlue | B0E0E6 | ||
| LightBlue | ADD8E6 | ||
| SkyBlue | 87CEEB | ||
| LightSkyBlue | 87CEFA | ||
| DeepSkyBlue | 00BFFF | ||
| DodgerBlue | 1E90FF | ||
| CornflowerBlue | 6495ED | ||
| MediumSlateBlue | 7B68EE | ||
| RoyalBlue | 4169E1 | ||
| Blue | 0000FF | ||
| MediumBlue | 0000CD | ||
| DarkBlue | 00008B | ||
| Navy | 000080 | ||
| MidnightBlue | 191970 |
Brown color names
| Cornsilk | FFF8DC | ||
| BlanchedAlmond | FFEBCD | ||
| Bisque | FFE4C4 | ||
| NavajoWhite | FFDEAD | ||
| Wheat | F5DEB3 | ||
| BurlyWood | DEB887 | ||
| Tan | D2B48C | ||
| RosyBrown | BC8F8F | ||
| SandyBrown | F4A460 | ||
| Goldenrod | DAA520 | ||
| DarkGoldenrod | B8860B | ||
| Peru | CD853F | ||
| Chocolate | D2691E | ||
| SaddleBrown | 8B4513 | ||
| Sienna | A0522D | ||
| Brown | A52A2A | ||
| Maroon | 800000 |
White color names
| White | FFFFFF | ||
| Snow | FFFAFA | ||
| Honeydew | F0FFF0 | ||
| MintCream | F5FFFA | ||
| Azure | F0FFFF | ||
| AliceBlue | F0F8FF | ||
| GhostWhite | F8F8FF | ||
| WhiteSmoke | F5F5F5 | ||
| Seashell | FFF5EE | ||
| Beige | F5F5DC | ||
| OldLace | FDF5E6 | ||
| FloralWhite | FFFAF0 | ||
| Ivory | FFFFF0 | ||
| AntiqueWhite | FAEBD7 | ||
| Linen | FAF0E6 | ||
| LavenderBlush | FFF0F5 | ||
| MistyRose | FFE4E1 |
Grey color names
| Gainsboro | DCDCDC | ||
| LightGrey | D3D3D3 | ||
| Silver | C0C0C0 | ||
| DarkGray | A9A9A9 | ||
| Gray | 808080 | ||
| DimGray | 696969 | ||
| LightSlateGray | 778899 | ||
| SlateGray | 708090 | ||
| DarkSlateGray | 2F4F4F | ||
| Black | 000000 |
SEMOGA BERMANFAAT....!
html-color-codes.info
Penulisan kode html dalam posting
Bagaimana bila kita ingin menampilkan kode HTML dalam posting ?.
Menampilkan kode HTMLdalam postingan tidak seperti menulis kode biasa. Jika dalam postingan kamu memasukkan kode originalnya, maka yang tampil dalam postingan adalah hasil terjemahan bahasa HTML dari kode tersebut.
Untuk menampilkan kode HTML dalam posting ada 2 cara :
Pertama : cara manual, yaitu merubah karakter-karakter kode tertentu. Mari kita lihat karakter-karakter yang perlu diganti :
| Kode | Ganti Kode dengan |
| < | < |
| > | > |
| " | " |
Kedua : Memparse kode HTML yang akan kamu masukkan dengan menggunakan layanan situs online
- Centricle.com (http://www.centricle.com/tools/html-entities)

Masukkan kode yang akan kamu parse, kemudian tekan "Encode" atau jika ingin mengembalikan ke kode semula tekan "Decode".
Copy paste kode hasil Encode yang telah ada ke posting kamu
- Blogcrowds (http://www.blogcrowds.com/resources/parse_html.php)
 Masukkan kode yang akan diparse, namun kali ini kamu hanya menekan tombol "Parse".
Copy paste kode hasil Parse yang telah ada ke posting kamu.
Nah..! selamat mencoba .. Sukses selalu buat kamu...!!!
Piece of cake
Today we celebrated my son's first birthday. I wanted to share the cake that my husband and I made.
I have never baked anything more than a box of brownies, so I was a little intimidated about making a "cool" cake, but I'm never one to shy away from a creative challenge.
He LOVES Baby Einstein, and this catepillar comes across the screen at the beginning of each DVD. My little guy gets SO excited, so I knew that's what we had to do for a cake.


The cake was made out of a sports ball pan. I used the halves instead of making the full ball, and the covered it in store bought fondant that we colored with food coloring. A LOT easier than I thought it would be!


The antennae are dum dums covered in fondant.

finishing touches:

Taste Test:
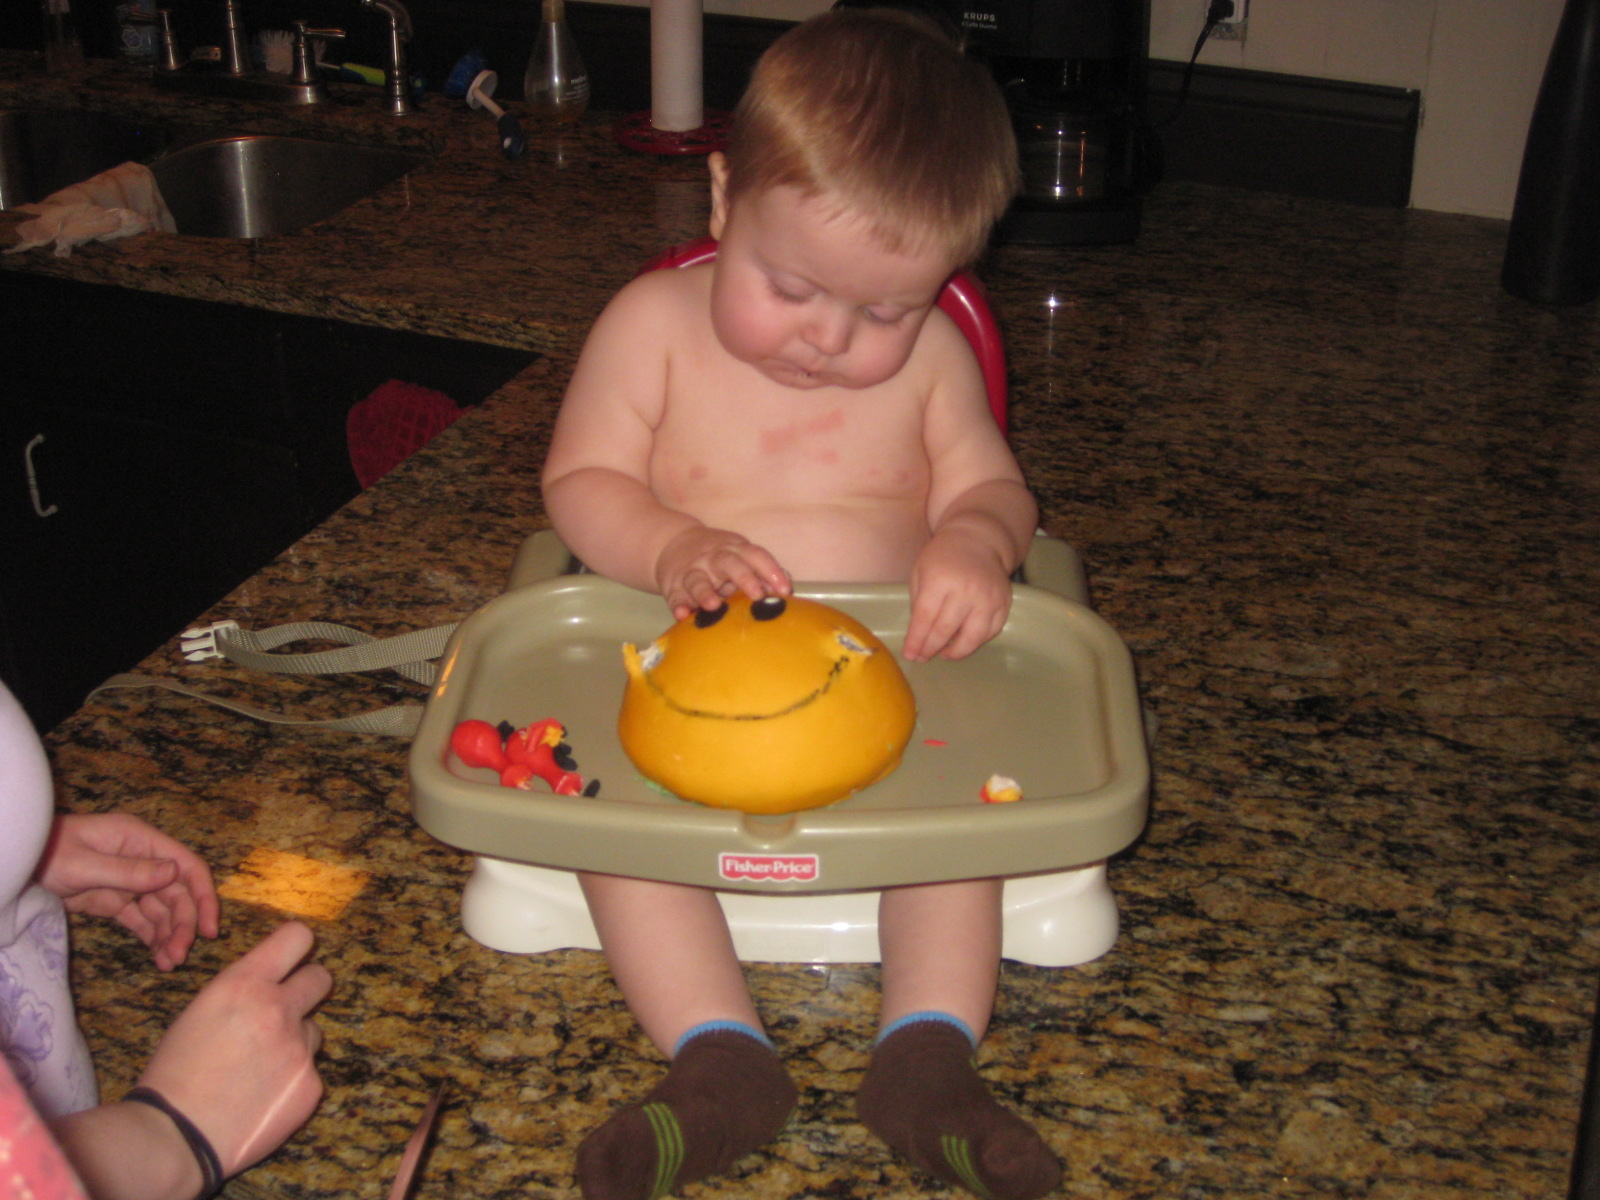
I think he approved:

He wouldn't stop eating it! Daddy got a little scared that he would get sick so we finally tore him away from the cake. I will absolutely be making more cakes in the future. This was a lot of fun!


Unveiling the Christmas displays
Unveiled are these huge reindeers along Orchard walkway.

They were all wrapped up earlier.


These displays got both adults and kids attracted.
People were taking pictures and climbing all over them.


Want to have tea?

Yes! This group seemed to be enjoying tea and its company.

While others just loved sitting around it.

There are more.
Check them out.
This magnificent display was so captivating.
It got me totally distracted from the reindeers.
It is a gigantic Louis Vutton bag.

People were taking pictures with the magnificent bag.
What a GIANT!

A complete bag.
Back view..

Located at..

For the..

Prodigious!

Continuing down the road, more reindeer displays..


Continuing down the road, more reindeer displays..


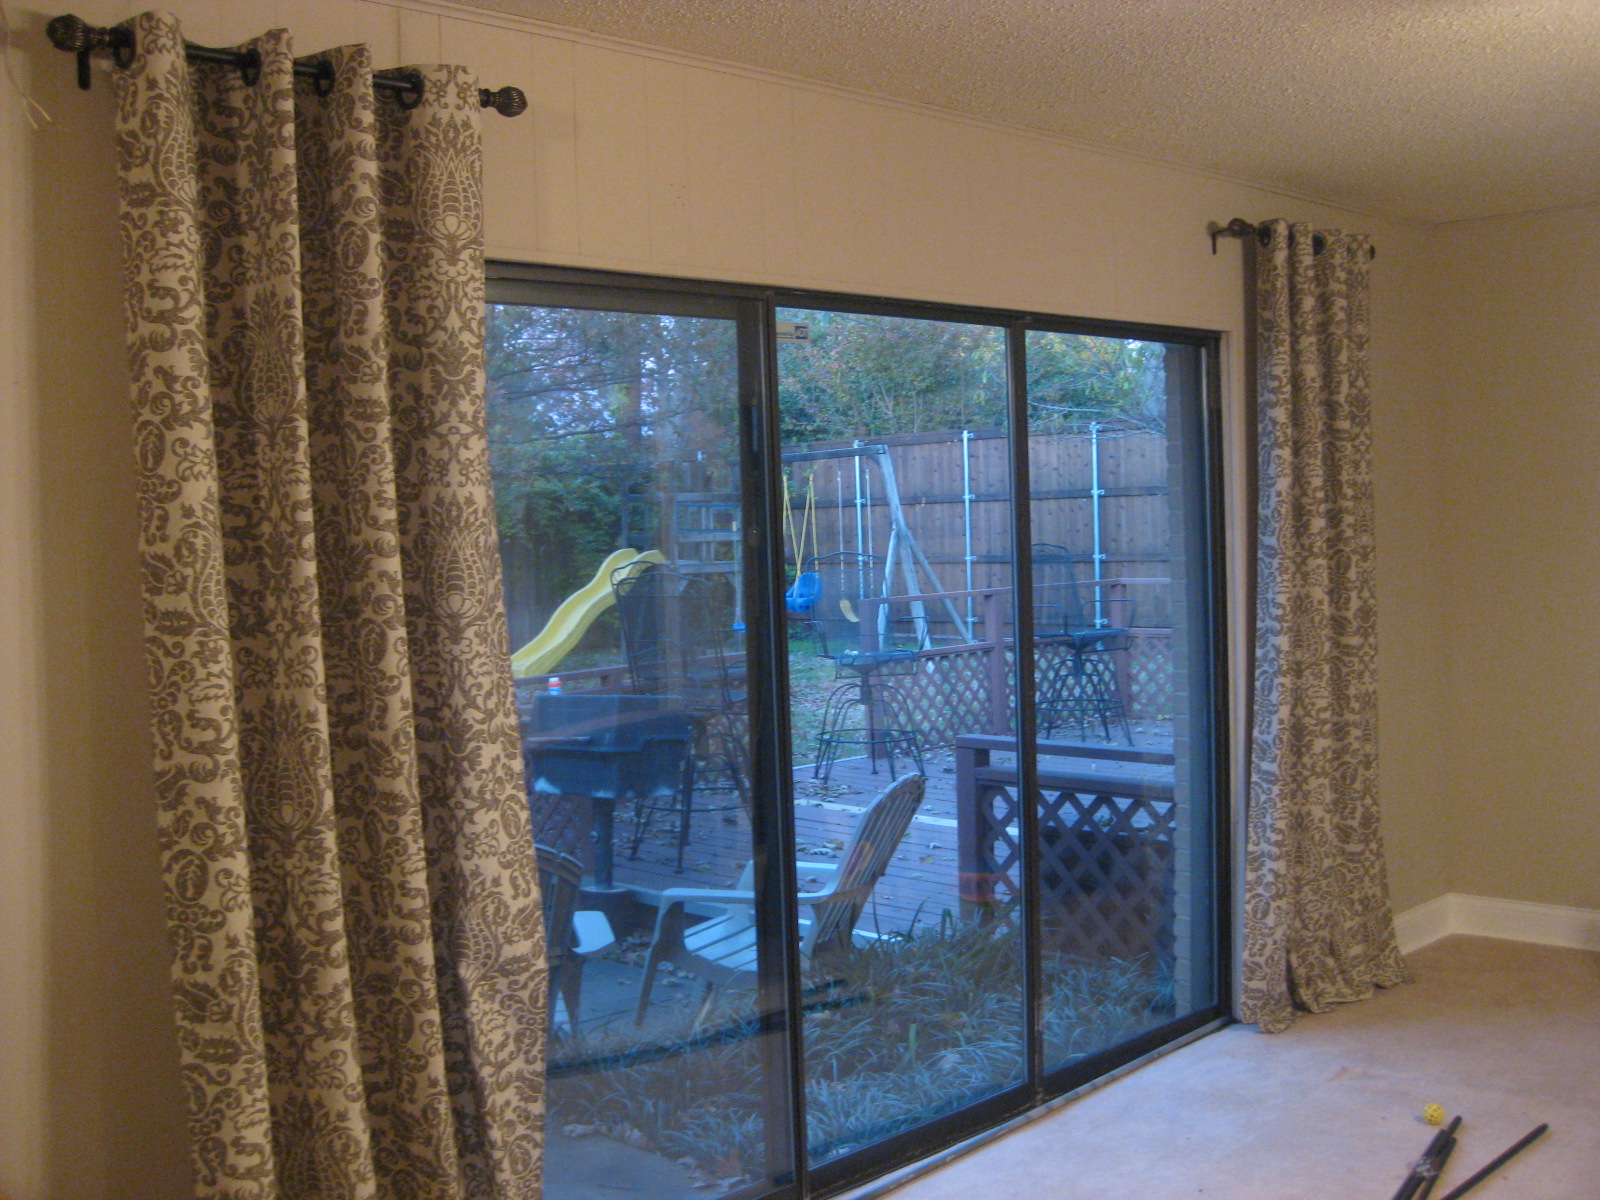
Easy No Sew Curtains

These are the easiest window treatments in the history of window treatments to make. Well, now that I think about it, the blanket that I thumb tacked over my window in my first apartment was easier. But only slightly.
Let me rephrase.
This is the easiest window treatment that actually looks like a window treamtment in the history of window treatments.
If you're like me, and you're petrified of any sewing project, and you haven't been introduced to hem tape - I would like to formally introduce you to one of my new best friends:

I was even a little timid of this stuff at first. This was my first DIY involving any fabric - but it needed to be done.
Pardon me, I didn't take pictures along the way, but this is so easy you don't need them!
All I used for this project was:
5 yards (total) of fabric
1 Package of hem tape
2 packages of grommets (1 per panel)
Step 1 - cut your fabric into 90 inch panels (or however long you want yours to be, I like mine to pool a bit at the bottom)
Step 2 - use your hem tape to hem the bottom of the panel

Step 3 - use your hem tape to hem to hem the top, leaving enough room for the grommets

Step 4 - Using the template that comes in your package of grommets, draw the circles that you will cut out.

Step 5 - These grommets just snap together, and your circles that you cut out don't have to be perfect for these to work. I was the most worried about that part, but the grommets are very forgiving. Just snap them together on either side of your fabric.
Step 6 - Hang them up and enjoy!

I would eventually like to put a sheer of some kind to cover the entire door area, but our backyard is private enough that no one can see in. So instead of putting a huge long bar all the way across, I just got two small curtain rods to hang each panel on on either side of the door. I got these on sale at Hobby Lobby for $7.99 each! Way cheaper than getting a HUGE LONG curtain rod that wouldn't serve any purpose.
P.S. I moved my couch for this picture because my brown microfiber couch looks PURPLE when being photographed. I don't understand it.
Membuat Read More Otomatis
Read more merupakan salah satu cara agar kita dapat membuat variasi posting dengan tidak menampilkan secara keseluruhan tapi hanya sebagian sehingga bisa lebih hemat tempat dan menarik.
Berikut langkah yang harus dilakukan :
- Login ke account blogger kamu.
- Pilih Tata Letak --> Edit HTML --> centang "Expand Template Widget".
Tips : Sebelum melakukan edit template, sebaiknya simpan dulu template kamu yang ada dengan meng-klik tulisan Download Template Lengkap. Kemudian simpan dalam harddisk atau media penyimpanan lainnya, sehingga jika terjadi hal-hal yang tidak diinginkan kamu sudah memiliki back-up untuk mengembalikannya seperti semula.
- Login ke blogger.com
- Klik Tata Letak --> Edit HTML.
- Copy kode di bawah ini dan paste di atas kode </head>
<script type='text/javascript'>
var thumbnail_mode = "float" ;
summary_noimg = 450;
summary_img = 450;
img_thumb_height = 120;
img_thumb_width = 120;
</script>
<script type='text/javascript'>
//<![CDATA[
/******************************************
Auto-readmore link script, version 2.0 (for blogspot)
(C)2008 by Anhvo
visit http://en.vietwebguide.com to get more cool hacks
********************************************/
function removeHtmlTag(strx,chop){
if(strx.indexOf("<")!=-1)
{
var s = strx.split("<");
for(var i=0;i<s.length;i++){
if(s[i].indexOf(">")!=-1){
s[i] = s[i].substring(s[i].indexOf(">")+1,s[i].length);
}
}
strx = s.join("");
}
chop = (chop < strx.length-1) ? chop : strx.length-2;
while(strx.charAt(chop-1)!=' ' && strx.indexOf(' ',chop)!=-1) chop++;
strx = strx.substring(0,chop-1);
return strx+'...';
}
function createSummaryAndThumb(pID){
var div = document.getElementById(pID);
var imgtag = "";
var img = div.getElementsByTagName("img");
var summ = summary_noimg;
if(img.length>=1) {
imgtag = '<span style="float:left; padding:0px 10px 5px 0px;"><img src="'+img[0].src+'" width="'+img_thumb_width+'px" height="'+img_thumb_height+'px"/></span>';
summ = summary_img;
}
var summary = imgtag + '<div>' + removeHtmlTag(div.innerHTML,summ) + '</div>';
div.innerHTML = summary;
}
//]]>
</script>
Catatan : var thumbnail_mode = "float" ;
summary_noimg = 450;
summary_img = 450;
img_thumb_height = 120;
img_thumb_width = 120;
</script>
<script type='text/javascript'>
//<![CDATA[
/******************************************
Auto-readmore link script, version 2.0 (for blogspot)
(C)2008 by Anhvo
visit http://en.vietwebguide.com to get more cool hacks
********************************************/
function removeHtmlTag(strx,chop){
if(strx.indexOf("<")!=-1)
{
var s = strx.split("<");
for(var i=0;i<s.length;i++){
if(s[i].indexOf(">")!=-1){
s[i] = s[i].substring(s[i].indexOf(">")+1,s[i].length);
}
}
strx = s.join("");
}
chop = (chop < strx.length-1) ? chop : strx.length-2;
while(strx.charAt(chop-1)!=' ' && strx.indexOf(' ',chop)!=-1) chop++;
strx = strx.substring(0,chop-1);
return strx+'...';
}
function createSummaryAndThumb(pID){
var div = document.getElementById(pID);
var imgtag = "";
var img = div.getElementsByTagName("img");
var summ = summary_noimg;
if(img.length>=1) {
imgtag = '<span style="float:left; padding:0px 10px 5px 0px;"><img src="'+img[0].src+'" width="'+img_thumb_width+'px" height="'+img_thumb_height+'px"/></span>';
summ = summary_img;
}
var summary = imgtag + '<div>' + removeHtmlTag(div.innerHTML,summ) + '</div>';
div.innerHTML = summary;
}
//]]>
</script>
- Kode var thumbnail_mode = "float" ; diartikan bahwa readmore kamu akan diatur disebelah kiri, kalau kamu ingin tanpa pengaturan float silakan ganti dengan "no-float".
- Kode summary_noimg = 450; berguna untuk mengatur jumlah karakter yang ditampilkan tanpa image (gambar).
- Kode summary_img = 450; berguna untuk mengatur jumlah karakter yang ditampilkan dengan image (gambar).
- Kode img_thumb_height = 120; berguna untuk mengatur tinggi image (gambar) yang akan ditampilkan.
- Kode img_thumb_width = 120; berguna untuk mengatur lebar image (gambar) yang akan ditampilkan.
<data:post.body/>
atau
<p><data:post.body/></p>
Kalau sudah ketemu, ganti kode tersebut dengan kode berikut :
<b:if cond='data:blog.pageType != "item"'>
<div expr:id='"summary-" + data:post.id'><data:post.body/></div>
<script type='text/javascript'>createSummaryAndThumb("summary-<data:post.id/>");</script>
<a class='readmore' expr:href='data:post.url'><img src='http://i864.photobucket.com/albums/ab206/kibagus/animation/th_Set-02d-june.gif'/></a>
</b:if>
<b:if cond='data:blog.pageType == "item"'><data:post.body/></b:if>
Catatan :
- Ganti kode yang berwarna merah dengan alamat IMAGE kamu bila kamu ingin pakai punya kamu sendiri..
- Jangan lupa disimpan.
Animasi Header


Tertarik Ikuti langkah berikut :
- Klik Page Element
- Klik Add Gadget
-

- Klik plus button (+) for HTML/JavaScript. (img)
- Copy and paste kode dibawah ini

<a href="http://kibagus-homedesign/blogspot.com" target="_blank"><img alt="cat jump" border="0" src="http://i864.photobucket.com/albums/ab206/kibagus/animation/catrun1.gif" /></a>
atau
<img src="http://i864.photobucket.com/albums/ab206/kibagus/animation/catrun1.gif" style="float: left; padding: 10px" />
______________________________________
Keterangan :
- Warna kuning : URL Tujuan yang dimaksud bila ingin menggunakan image sebagai icon bagi link tertentu.
- Warna agua : Alamat URL image. ( bila ingin menggunakan image/animasi yang ada disini, klik kanan, copy lokasi image, ganti URL dengan URL image yang dimaksud )
- float: left : Letak / posisi yang di ingnkan ( left - center - right )
- Untuk yang ingin menyimpan pada directory sendiri silakan klik kanan - save image ke PC kamu - upload image pada tempat penyimpanan kamu sendiri ( bisa pakai pikasa.com / photobucket.com / website lain ), kemudian ambil alamat URL image tersebut.
bila kamu ingin mencari background dan animasi yang cocok buat blog kamu silakan klik dibawah ini.

Get Your Own Animation Picture Here
Subscribe to:
Posts (Atom)